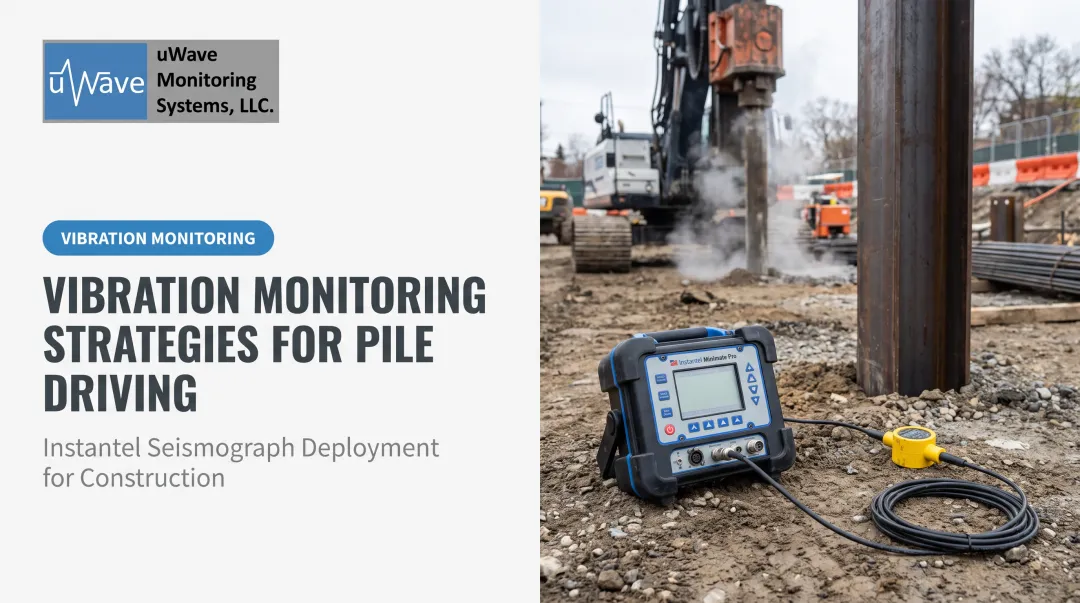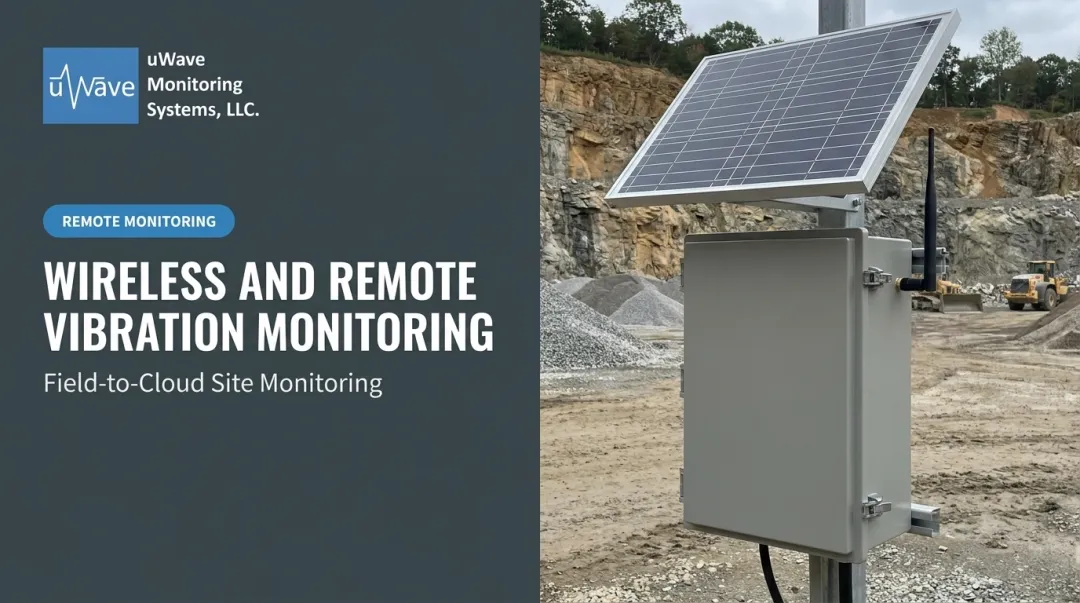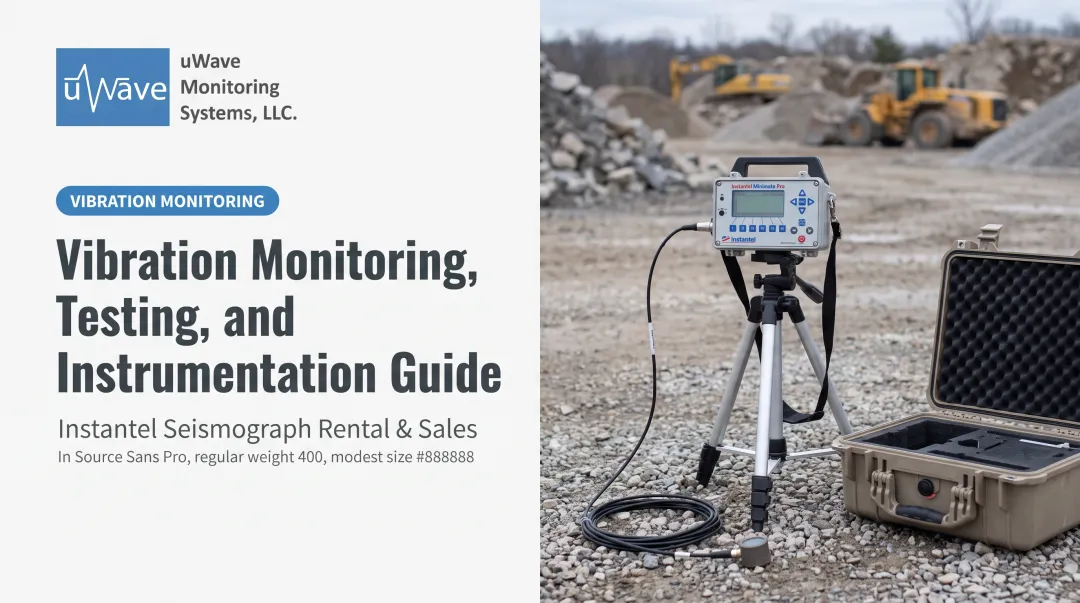
Placing a seismograph sounds simple enough. Bolt it down, plug it in, walk away. But the accuracy of your data, the speed of your alerts, and your actual compliance standing depend on a lot more than owning the right box. Sensor placement, connectivity, threshold configuration, and ongoing maintenance all shape whether your system catches a problem or misses it entirely.
This guide walks through the exact steps for setting up remote vibration monitoring: what you need beforehand, the parameters that determine accuracy, the mistakes that trip up most projects, and when this approach actually makes sense.
Key Takeaways
- Remote monitoring replaces periodic manual checks with continuous, cellular-connected PPV and airblast data plus automated alerts
- Success hinges on site assessment, correct equipment, proper connectivity setup, and ongoing review — not hardware alone
- OSMRE, ISEE, and DIN/BS standards define the minimum sensor specs and reporting formats systems must meet
- Field-to-Cloud rental packages let teams deploy compliant systems without owning hardware or managing IT
- Most monitoring failures come from poor sensor placement or weak connectivity, not broken equipment
How to Set Up Remote Construction Vibration Monitoring
Step 1: Conduct a Site and Risk Assessment
Start by mapping every vibration-sensitive structure, utility, and receptor within your project's zone of influence. That includes older buildings, pipelines, hospitals, and anything with fragile or historic construction. Underground pipes and drainage structures can carry vibration further than surrounding soil would suggest, so don't limit your survey to what's visible above ground.
Next, pin down which threshold applies. OSMRE, ISEE, DIN 4150, or a specific permit condition. Each sets different limits, and guessing wrong here undermines everything downstream. Under 30 CFR 816.67, for example, federal PPV limits for protected structures scale with distance: 1.25 in/s within 300 feet, 1.00 in/s from 301–5,000 feet, and 0.75 in/s beyond that.
Finally, evaluate deployment conditions:
- Cellular coverage strength at each sensor location
- Available power sources (grid, solar, or battery)
- Physical security for unattended equipment left overnight or over weekends
Step 2: Select and Position Monitoring Equipment
Skip the industrial accelerometer. Construction monitoring calls for a calibrated geophone and airblast microphone built to ISEE/OSMRE frequency and sample-rate requirements — a different instrument than what you'd use on a factory floor.
uWave's rental fleet includes the Instantel Micromate, Minimate Pro, and Blastmate III, and the right pick depends on scope:
- Micromate — four channels, triaxial geophone plus one microphone input, ISEE sensor response of 2–250 Hz. A solid fit for straightforward one-to-three-parameter jobs.
- Minimate Pro — four or six channels, sample rates up to 65,536 samples/second, supports high-frequency geophones and high-pressure microphones. Better suited to complex or multi-source sites.
- Blastmate III — includes an ISEE geophone and linear microphone, though its sound-monitoring capability is more limited than the other two.
Position the sensor at the foundation of the nearest sensitive receptor, following manufacturer guidance on ground coupling. Loose fill or unconsolidated soil will distort your readings no matter how good the instrument is. Confirm the enclosure can handle full outdoor exposure for the entire unattended deployment window, not just a few days.
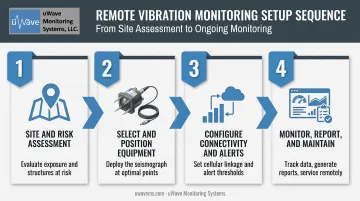
Step 3: Configure Remote Connectivity and Alerts
Cellular LTE (or satellite, where available) keeps data flowing to a cloud platform continuously, even on sites with no Wi-Fi. uWave's Field-to-Cloud rental packages pair Instantel seismographs with Sierra Wireless AirLink modems — typically the RV50, RV50X, or the currently recommended RV55 — running on Verizon or T-Mobile networks.
Once connectivity is live, program threshold-based alerts for PPV and airblast so notifications fire automatically the moment a limit is approached. This step is where bundled rental packages save real planning time: the seismograph, modem, enclosure, and cloud alert configuration arrive as one integrated system instead of five separate purchasing decisions.
Power continuity matters just as much as connectivity. uWave's standard remote stations use a 30-watt solar module paired with a charge controller and a 12V sealed lead-acid or AGM deep-cycle battery (commonly 35 Ah). For high-transmission-load sites or poor sun exposure, higher-capacity batteries (50 Ah or more) help bridge the gap between service visits.
Step 4: Monitor, Report, and Maintain the System
Don't just wait for alerts. Build a routine for reviewing dashboard trends and compliance data regularly, not only when something trips a threshold.
Platforms like uWave Project Manager show unit status, modem health, and weekly alert counts (a typical dashboard might show 58 alerts in a week, with 5 arriving that day) so you can spot patterns before they become problems.
Schedule calibration checks per manufacturer and ISEE requirements, and confirm your data backup meets permit recordkeeping rules. Write down a response protocol: who gets notified when an alert fires, and exactly what happens next. Vague plans lead to slow reactions.
When Should You Use Remote Vibration Monitoring?
Remote monitoring isn't always the right call. Short-duration, low-risk work far from sensitive receptors may only need periodic manual spot-checks with a handheld unit.
Remote monitoring makes sense for:
- Unattended overnight or weekend work near sensitive structures
- Multi-point urban projects with several receptors to track simultaneously
- Mining and quarry blasting operations
- Tunneling and other continuous underground work
- Contracts that require continuous recording and automatic exceedance response
Some specs spell this out. Iowa DOT's SP-230223, for example, mandates continuous monitoring at existing bridge piers with a 2.0 in/s PPV threshold and immediate work stoppage on exceedance.
It becomes inefficient when:
- Mobilization lasts only a day or two
- The site has no cellular or satellite backhaul option at all
- A single portable handheld reading is sufficient for the risk level
If a site has no connectivity but staff can retrieve data daily, a wired or local-only data logger remains a perfectly viable alternative. Not every project needs the cloud.
What You Need Before Setting Up Remote Monitoring
Under-preparing on equipment, site data, or compliance readiness is the single biggest cause of unreliable monitoring results. Three areas need attention before mobilization.
Equipment and System Requirements
Confirm your seismograph meets current ISEE performance specs: minimum 1,000 samples/second per channel and full 2–250 Hz frequency coverage, plus a rugged, weatherproof enclosure. Also verify the cellular modem, power system, and cloud software are provisioned for your specific coverage area.
Rental packages that bundle the seismograph, enclosure, modem, and cloud alerts remove much of this planning burden. Instead of sourcing five vendors, you're working with one integrated deployment.
Inputs, Conditions, and Site Data
Gather this before anyone sets foot on site:
- Structural drawings for nearby buildings
- Baseline crack surveys for older or fragile structures
- Known utility locations near each planned sensor position
- Ground coupling conditions (soil, pavement, or structure) matched to the sensor's mounting method
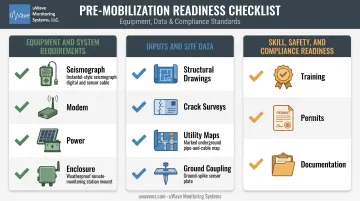
Skill, Safety, and Compliance Readiness
Personnel installing or relocating sensors need to understand calibration, mounting, and threshold-setting procedures. This isn't a task to hand off without training.
Permit or contract language covering reporting format, data retention, and alert recipients should be documented and confirmed before mobilization, not sorted out after the first alert fires.
Key Parameters That Affect Monitoring Accuracy and Results
A fully compliant seismograph still produces unreliable data if these variables aren't controlled.
| Parameter | Why It Matters | Impact on Results |
|---|---|---|
| Sensor placement and coupling | Distance from the source and ground coupling quality directly affect recorded PPV | Poor coupling or excess distance can under- or over-report actual risk |
| Threshold and alert settings | Thresholds must match the specific regulatory or contract limit for that receptor | Wrong thresholds cause missed alerts or alert fatigue from false triggers |
| Sampling rate and frequency range | Instruments below the ISEE minimum can miss short-duration peak events | Undersampling produces PPV readings that understate true peak vibration |
| Connectivity reliability | Cellular dropout or weak signal delays or blocks real-time alerts | A delayed alert can be the difference between a shutdown and a damage claim |
Sensor Coupling
Coupling deserves particular attention. A controlled study on horizontal ground motion found that measured readings varied by a factor of 0.16 to 1.25 depending on coupling method and frequency alone.
That swing is large enough to push a compliant site into apparent violation, or mask a real one. Free-mounted sensors were only reliable below 8 Hz, while anchored mounts held up to 128 Hz.
Threshold Configuration
Threshold configuration causes different problems. Set limits too loose, and a real exceedance slips through unnoticed. Set them too tight, and your team gets buried in false alerts until people start ignoring the system, including the alerts that matter.
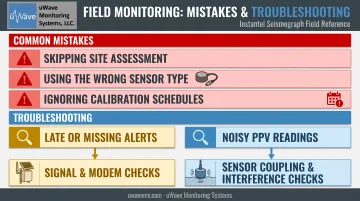
Common Mistakes and Troubleshooting Tips
A handful of recurring errors account for most monitoring failures:
- Skipping the site and receptor assessment before setting alert thresholds, which means limits are guessed rather than calculated
- Deploying an industrial accelerometer or IIoT vibration sensor instead of a calibrated construction seismograph. They simply aren't built for this application
- Ignoring calibration schedules, or failing to recalibrate after a drop or repair, which can quietly invalidate months of data
When alerts arrive late or not at all:
Weak cellular signal or modem misconfiguration is usually the culprit. Check signal strength logs, confirm carrier compatibility, and verify antenna placement. A modem tucked inside a metal enclosure will underperform no matter how good the carrier coverage is.
When PPV readings look inconsistent or noisy:
Poor sensor coupling is the most common cause, followed by nearby unrelated vibration sources like passing traffic or idling equipment. Remount the sensor per manufacturer guidance and review the waveform data for interference patterns before assuming the instrument itself is faulty.
Frequently Asked Questions
Is it normal for a house to shake from nearby construction?
Some perceptible shaking from pile driving, compaction, or blasting is common and usually falls well within safe PPV limits. Persistent or strong shaking should still be checked against monitored data and the applicable threshold.
How do I choose the right vibration sensor for a construction project?
Construction projects need a calibrated seismograph with a geophone and airblast microphone meeting ISEE/OSMRE standards. A general industrial vibration sensor won't meet these requirements.
What is Peak Particle Velocity (PPV) and why does it matter?
PPV is the maximum zero-to-peak velocity of ground motion, typically measured at a building's foundation. Regulators set specific PPV limits to judge risk to nearby structures.
Can remote vibration monitors operate without Wi-Fi on a job site?
Yes. Cellular LTE or satellite modems transmit data and alerts without Wi-Fi, and onboard storage backs up recordings during any connectivity gaps.
What standards govern construction vibration monitoring in the US?
Key references include ISEE Field Practice Guidelines, OSMRE's 30 CFR 816/817, and DIN 4150 or BS 7385 where a contract specifically requires them.
How long should vibration monitoring data be retained after a project?
OSMRE requires blast records be kept for at least three years. Cloud-hosted platforms with secure backup make meeting that obligation far simpler than managing local files.