That gap between "detectable" and "damaging" is exactly where projects run into trouble. Choosing the right vibration monitoring strategy protects contractors from damage claims, costly delays, and compliance violations tied to poorly documented readings.
This guide covers what you need to monitor correctly, the main strategies available, how to read results against recognized standards, and the mistakes that trip up even experienced crews.
Key Takeaways
- Reliable monitoring starts with geophones and seismographs, hours of background readings, and thresholds set before the first pile strikes
- Project duration and site risk determine whether automated remote monitoring, portable units, or a mix works best
- DIN 4150-3, USBM RI 8507, and ISO 4866 remain the reference points for judging whether a reading signals real risk
- Bad sensor placement and skipped baselines cause more compliance headaches than actual excessive vibration
What You Need for Vibration Monitoring During Pile Driving
Selecting the right sensors and monitoring points is the foundation of a reliable strategy. Misplaced or under-specified equipment produces data nobody can trust, and that's a problem you don't want to discover after a complaint lands on your desk.
Equipment and Indicators Required
A functional monitoring setup typically includes:
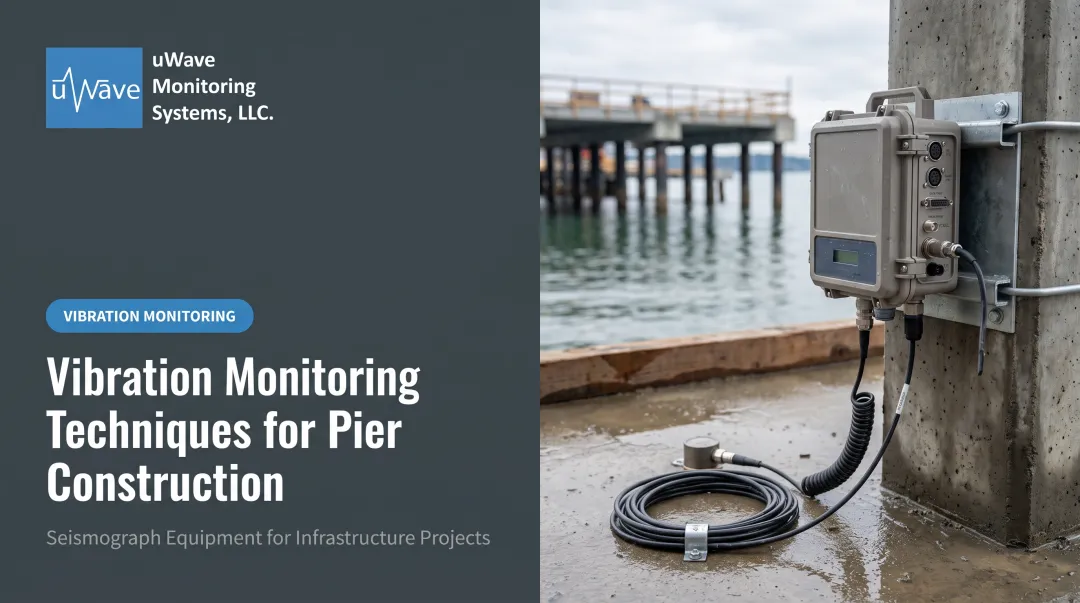
- Triaxial geophones — ground-mounted or structure-mounted, capturing vibration on three axes simultaneously
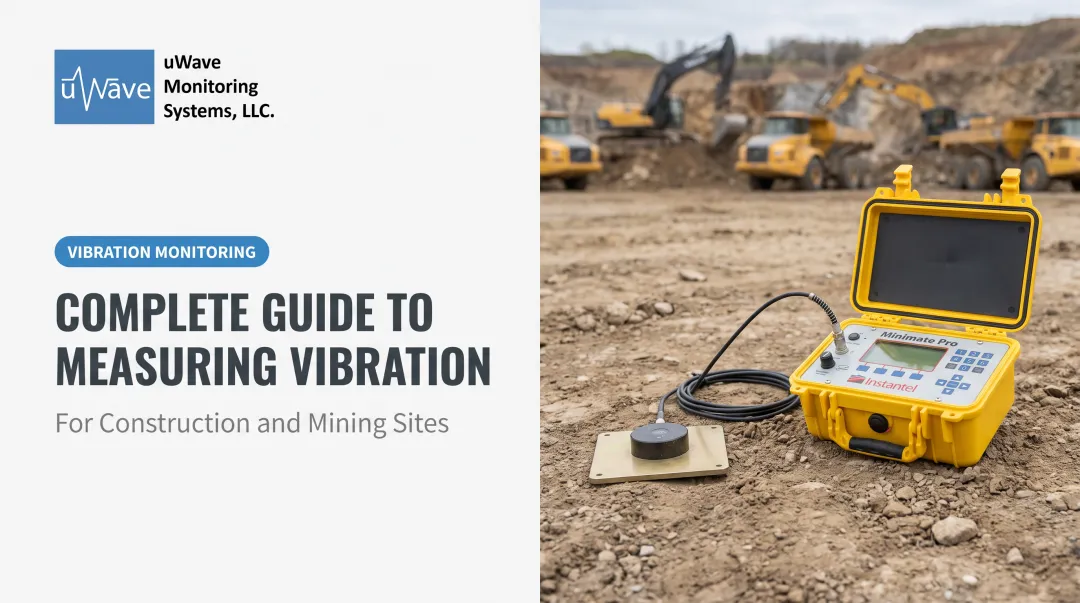
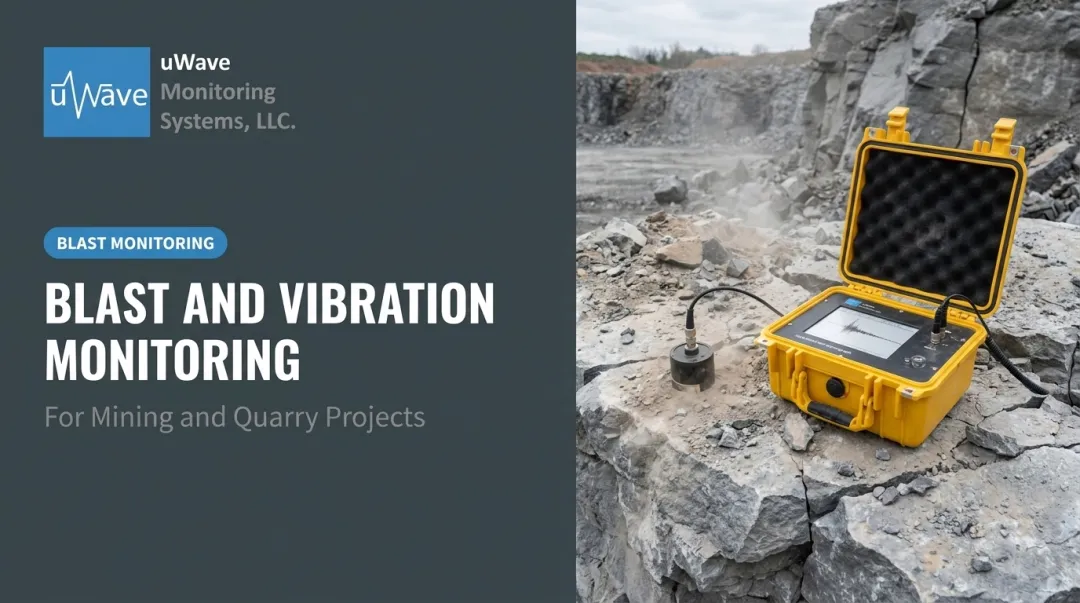
- Seismographs/vibration monitors — Instantel units such as the Micromate, Minimate Pro, or Blastmate III are common on pile-driving sites
- Microphones — optional, but useful when noise complaints run alongside vibration concerns
- Processing software — converts raw signals into peak particle velocity (PPV), histograms, and the compliance reports regulators actually want to see
The Micromate, for example, runs four channels: three for the triaxial geophone and one for an air-overpressure or sound-level microphone.
For projects that run weeks or months, cloud-connected systems support continuous coverage. Solar-powered enclosures with cellular modems enable unattended data collection and instant alerts the moment a threshold is crossed. uWave Monitoring Systems offers field-to-cloud Instantel seismograph rental and hosting so contractors get 24/7 remote access without a technician on site every day.
Preconditions and Setup
Before any pile driving starts, record background vibration for several hours. This establishes what "normal" looks like at your site, so a passing truck or nearby equipment doesn't get mistaken for a pile-driving exceedance.
Caltrans guidance backs this up directly: capture ambient readings inside and outside the structure before construction begins so project-caused vibration can be compared against pre-existing conditions.
Sensor placement matters just as much as timing:
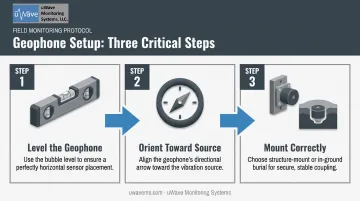
- Level the geophone within manufacturer tolerance — an unlevel sensor skews every reading that follows
- Orient it toward the source — the arrow on the geophone should point at the vibration origin
- Mount correctly — on the foundation or grillage edge for structure-response readings, or in-ground (sometimes buried roughly 6 inches near strong sources) for free-field readings
Distance planning rounds out the setup. Place sensors at multiple distances — near-source, about 30 ft, 150 ft, 300 ft, and beyond — to map how vibration attenuates. This isn't guesswork you can skip: Caltrans notes that attenuation constants should be determined experimentally at each site, since clay and sand don't decay vibration at the same rate. A generic distance rule won't hold up on every soil profile.
Vibration Monitoring Strategies and Methods for Pile Driving
Method selection depends on project duration, proximity to sensitive structures, budget, and how fast you need to react. Many projects combine more than one approach rather than relying on a single method.
Automated Remote Monitoring
This method uses cloud-connected seismographs that transmit data continuously and fire off email or text alerts the instant a threshold is exceeded.
What you need: a solar or AC-powered vibration monitor, triaxial geophone, cellular modem, protective enclosure, and a web-based platform for reviewing alerts. uWave's cloud-hosted system pairs Instantel monitors with automated vibration and maintenance alerts, so unattended sites get real-time notification instead of end-of-day surprises.
Setting it up follows a simple sequence:
- Install sensors at critical structure or foundation locations and confirm connectivity before driving begins
- Set trigger thresholds based on the applicable standard and structure type
- Monitor the dashboard remotely and adjust pile-driving operations if readings approach the limit
Best for: long-duration, multi-week projects or sites with restricted access. The tradeoff is a higher upfront setup cost compared to a portable unit.
Portable/Manual Monitoring
Here, a technician deploys a standalone seismograph and retrieves it at the end of a shift.
What you need: a compact, battery-powered seismograph — an Instantel Minimate Plus with an ISEE geophone rated 2–250 Hz is a common choice — plus a cable for manual data transfer.
- Deploy the sensor at the monitoring point before driving starts
- Retrieve it at shift's end and download the data via cable
- Process results and generate a compliance report
Best for: shorter jobs on tighter budgets. The catch is that it requires daily site visits, and alerting is delayed until someone actually pulls the data.
Structure-Response vs. Free-Field Monitoring
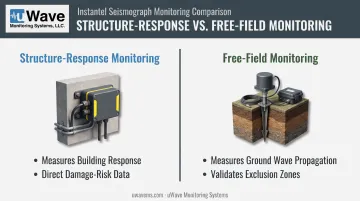
Structure-mounted sensors measure how the building itself responds. Free-field or ground sensors measure raw wave propagation through soil.
- Structure monitoring: anchored geophones on walls, slabs, or foundations — the most direct data on damage risk
- Free-field monitoring: spiked or borehole geophones (typically 2–250 Hz, rated up to 10 in/s) — better for mapping attenuation and validating exclusion zones
Decide which priority matters most for the site, mount sensors accordingly, and compare readings against structure-specific limits rather than generic ground-vibration numbers. Confusing the two is one of the more common — and avoidable — errors on pile-driving projects.
How to Interpret Vibration Monitoring Results
Misreading PPV or frequency data cuts both ways. Miss a real risk, and you're facing a damage claim. Misjudge a false alarm as an exceedance, and you've triggered a costly, unnecessary work stoppage.
Here's a practical breakdown of what different readings mean:
| Reading Level | What It Looks Like | What to Do |
|---|---|---|
| Normal | Below the structure-specific limit, no frequency spikes near resonance | Continue routine monitoring and logging |
| Minor Issue | 50-80% of threshold, occasional frequency jumps | Tighten monitoring intervals, consider pilot/leader drilling, or increase distance |
| Out-of-Spec | Exceeds the maximum permissible velocity for the structure type | Halt or adjust driving immediately, inspect nearby structures, document the event |
Standards matter here because "safe" isn't one fixed number. DIN 4150-3:1999 guideline values shift by frequency and building category:
| Structure Category | 1-10 Hz | 10-50 Hz | >50 Hz |
|---|---|---|---|
| Commercial/industrial | 20 mm/s | 20-40 mm/s | 40-50 mm/s |
| Dwellings | 5 mm/s | 5-15 mm/s | 15-20 mm/s |
| Sensitive buildings | 3 mm/s | 3-8 mm/s | 8-10 mm/s |
These are guideline values for evaluating structural effects, not universal safety guarantees. A dwelling near resonance frequency can be at risk well below the upper end of its range.
Two other references matter as well:
- USBM RI 8507: Frequency-versus-velocity chart from blasting research that distinguishes modern drywall from older plaster. Useful as a benchmark, though it wasn't built from pile-driving data.
- ISO 4866: Framework for measuring and evaluating vibration effects on fixed structures, without prescribing a single PPV limit.
Align your monitoring plan with whichever standard your contract or local code requires. Don't assume one substitutes for the other.
Common Errors and Best Practices in Pile Driving Vibration Monitoring
Most monitoring failures come from a few repeatable mistakes. Avoid the errors below and lock in the practices that keep data defensible.
Common Errors
- Skipping background measurement. Without a baseline, a passing dump truck can look like a threshold exceedance—or mask real pile-driving vibration
- Wrong sensor placement. Sensors not at the nearest foundation or grillage edge, or a geophone that isn’t leveled and aimed at the source, won’t reflect actual risk
- Reading free-field data as structural risk. Ground vibration and structural response are not the same; free-field levels don’t automatically equal building damage risk
- Ignoring low-frequency content. A modest velocity at low Hz can carry more damage potential than a higher velocity at high Hz
Best Practices
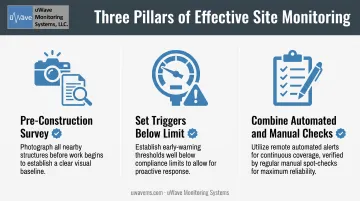
- Run a pre-construction survey. Photograph or document nearby structures before driving starts so later claims can be checked against a real baseline
- Set triggers below the regulatory limit. Give the crew time to react before an exceedance, not after
- Combine automated alerts with manual spot-checks. On high-risk projects, redundancy catches what a single method might miss
Conclusion
Reliable vibration monitoring comes down to a few fundamentals: correct equipment placement, honest background baselines, and a strategy matched to the project's duration and risk profile. Get those right, and interpreting results against DIN 4150-3, USBM RI 8507, or ISO 4866 becomes far less of a guessing game.
Pairing automated remote monitoring with sound engineering judgment gives contractors their strongest defense against damage claims, delays, and compliance disputes.
Frequently Asked Questions
How is pile driving vibration monitoring performed?
Geophones or seismographs are placed near the pile-driving source and any sensitive structures. Background levels are recorded first, then readings are continuously compared against pre-set peak particle velocity thresholds during active driving.
What devices are used for pile driving vibration monitoring?
The core devices are triaxial geophones and seismographs such as Instantel's Micromate, Minimate Pro, or Blastmate III. Cloud-connected systems add remote, automated alerting on top of that base equipment.
What is the ISO standard for pile driving vibration monitoring?
ISO 4866 provides the international framework for measuring and evaluating vibration effects on structures. Most contractors also reference DIN 4150-3 or local codes for the actual numeric limits.
What is a safe vibration limit near a structure during pile driving?
Safe limits vary by structure type, age, and frequency. Many codes set limits for standard structures around 10 mm/s (about 0.4 in/s) or lower, with tighter limits for historic or sensitive buildings.
How far should vibration monitors be placed from pile driving?
Sensors are typically placed at the nearest affected structure or foundation edge, with additional units at increasing distances to map attenuation and confirm exclusion zones remain valid in the field.
How long should vibration monitoring run before and during pile driving?
Background monitoring should run for several hours before work starts. Active monitoring should continue throughout driving until readings return to background levels.