Introduction
Blasting, pile driving, tunneling, and heavy equipment don't just move earth. They move it in ways that can crack foundations, rattle windows, and land a project in front of an angry city council.
Unmonitored vibration and noise create real risk. Nearby structures can suffer cosmetic or structural damage. Projects violate local ordinances. Community complaints pile up, and work stoppages follow — sometimes for weeks.
Pile driving alone is a frequent trigger for both noise and vibration complaints near homes and businesses, according to Caltrans' transportation and construction vibration guidance. Add blasting, tunneling, or demolition to the mix, and the stakes climb fast.
This guide covers what you actually need to monitor noise and vibration correctly: the right sensors, three proven monitoring methods, and how to read your results against real regulatory limits. You'll also find the mistakes that turn good data into bad decisions.
TL;DR
- Accurate monitoring starts with placement: calibrate geophones and sound sensors relative to the source and structure
- Three methods exist: manual spot-checks, automated field-to-cloud monitoring, and fixed remote stations, chosen by project length and urgency
- Compare readings against PPV and decibel limit curves (FTA, OSMRE, DIN 4150-3, ISO 4866), not gut feeling
- Poor sensor coupling and ignoring background levels cause most bad data and false alarms
- Cloud-connected systems cut site visits and speed up response when limits are exceeded
What You Need to Monitor Noise and Vibration on a Job Site
Accurate, defensible monitoring data starts with two decisions: which sensors you use, and where you put them. Get either one wrong, and every reading downstream becomes questionable.
Tools and Indicators Required
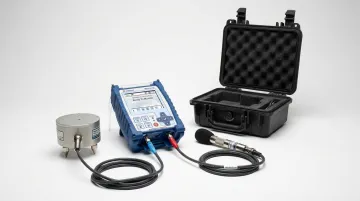
A functional monitoring setup includes:
- Triaxial geophone — measures ground and structural vibration across three axes
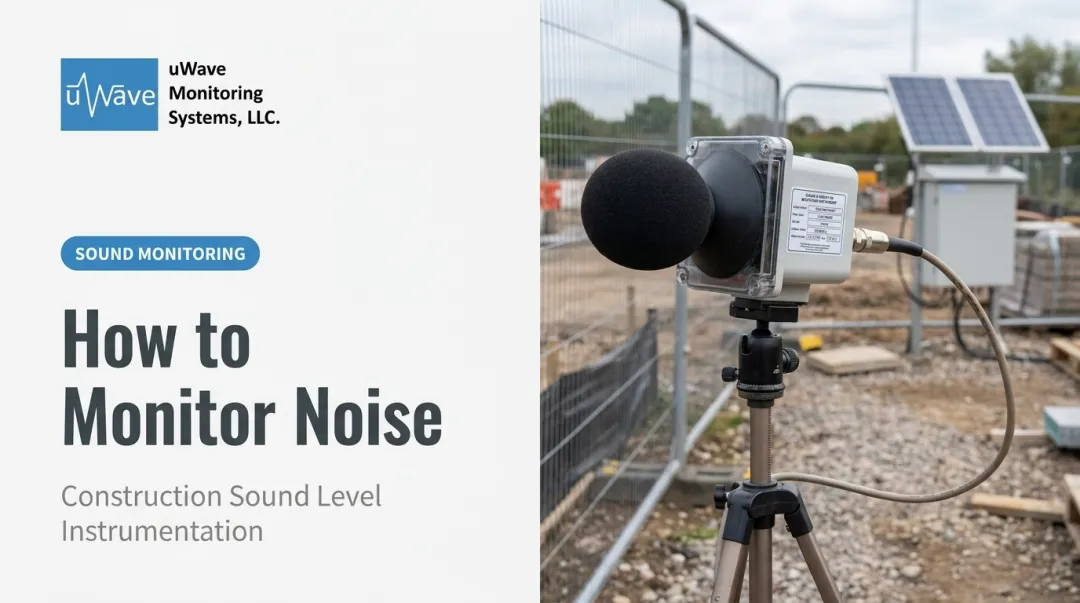
- Linear or A-weighted microphone — captures airborne noise or air overpressure
- Seismograph/vibration monitor unit — logs, processes, and stores the signal
- Mounting hardware — spikes, anchors, or borehole kits depending on ground conditions
- Current calibration certificate — non-negotiable for any data you plan to defend
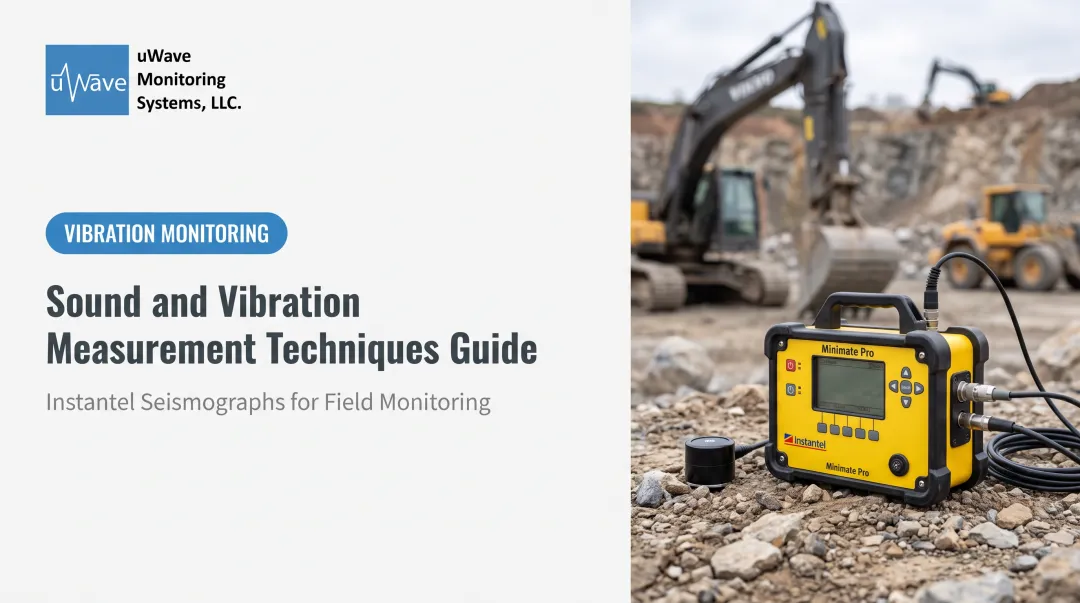
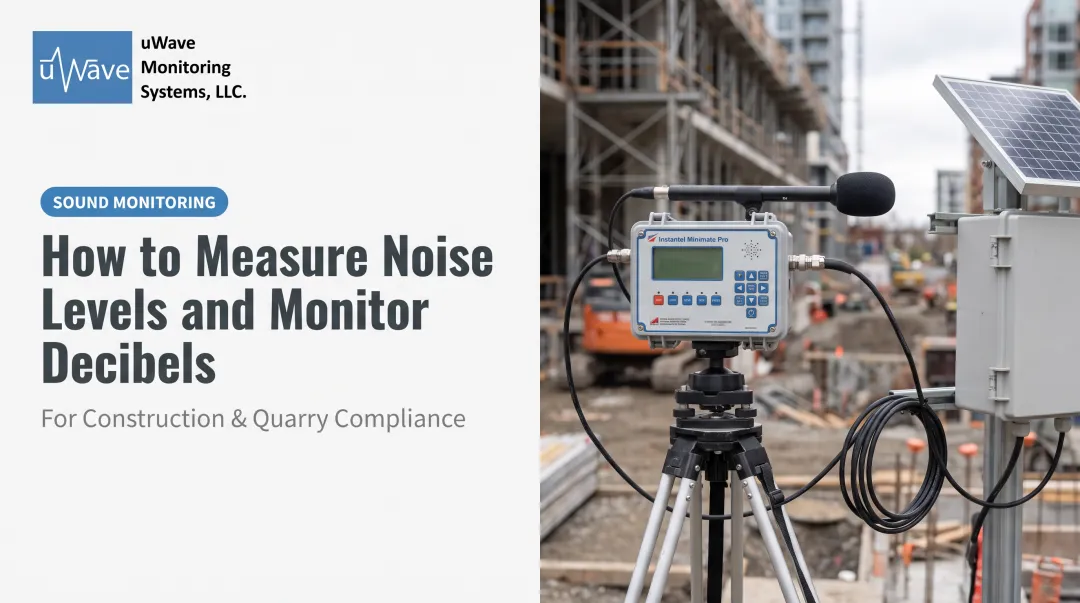
Construction and mining monitoring plans across North America specify Instantel seismographs, including the Micromate, Minimate Pro, and Blastmate III. They meet ISEE field practice guidelines and standard calibration requirements, which is why they show up so often in project specs.
For reference, a factory-certified Micromate with an ISEE geophone (2–250 Hz), geo spikes, AC adapter, and carrying case typically runs around $5,250, while a comparable Blastmate III package lands closer to $4,200–$4,700. Rental packages are common for shorter projects and usually include the triaxial geophone with a choice of cable length, plus optional overpressure or sound level microphones.
Preconditions and Setup
Before a single blast or pile strike happens, confirm the following:
- Network coverage — if you're running remote or automated monitoring, verify cellular or WiFi signal strength at the actual sensor location, not just the site trailer
- Baseline levels — measure ambient noise and vibration before construction starts; you can't set realistic trigger thresholds without knowing what "normal" already looks like
- Mounting surface — sensors need hard, stable coupling to hard, undisturbed ground or the structure itself
The ISEE Field Practice Guidelines for Blasting Seismographs identify placement and coupling as the two biggest factors affecting recording accuracy. Below roughly 0.2g of expected acceleration, spiking the geophone into the ground is usually enough. Above 1.0g, direct attachment becomes mandatory.
Methods to Monitor Noise and Vibration
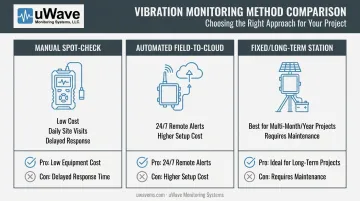
The right method depends on how long your project runs, how fast you need to respond to a problem, how accessible the site is, and what your budget allows. Most projects end up using one of three approaches.
Method 1: Manual Spot-Check Monitoring
Description: A portable handheld seismograph or sound meter for short-term or intermittent checks at specific locations.
Tools needed: Portable vibration monitor with internal battery, geophone, microphone.
Steps:
- Position and level the geophone within manufacturer tolerance, with the arrow pointing toward the vibration source
- Set trigger thresholds based on your applicable standard and measured background levels
- Retrieve the unit, download stored data, and generate a compliance report
Pros: Low cost, flexible for short projects. Cons: Requires daily site visits and manual data retrieval. Delays in catching a problem are baked in.
Method 2: Automated Field-to-Cloud Continuous Monitoring
Description: A sensor-equipped unit streams vibration and noise data continuously to a cloud platform for real-time review.
Tools needed: Geophone/microphone, cellular modem, weatherproof enclosure, web-based data hosting platform.
Steps:
- Install and secure the sensor and enclosure at the monitoring point, confirming stable coupling and network signal strength
- Configure automated email or text alerts for PPV, dB, or frequency exceedances
- Review live dashboards remotely and pull compliance reports as needed
Pros: 24/7 remote access and instant alerts minimize downtime risk. Cons: Requires reliable connectivity and a higher upfront setup cost.
This is the space uWave Monitoring Systems' Field-to-Cloud packages are built for. The uWave Project Manager platform pairs compatible Instantel hardware (Micromate, Minimate Pro, Blastmate III) with email/text alerting, customized reports, and secure cloud backup. That setup lets a project manager check dashboard readings from a laptop instead of driving to three sites a day.
Method 3: Fixed/Long-Term Remote Monitoring Stations
Description: Permanently mounted, solar or AC-powered stations for multi-month or multi-year projects near sensitive structures.
Tools needed: Ruggedized enclosure, solar panel or line power, high-capacity battery, geophone/microphone array.
Steps:
- Select a secure, tamper-resistant location near the structure or utility being protected
- Mount the enclosure and connect sensors with cabling protected from traffic and weather
- Establish scheduled automatic data uploads and maintenance alerts for battery or connectivity issues
Pros: Best for long-duration, high-risk projects needing uninterrupted data. Cons: Higher cost, plus periodic maintenance checks.
uWave's V3 and V5 remote monitoring stations run on 30-watt solar modules paired with 12V AGM batteries, housed in lockable enclosures with an open bottom so the geophone can couple directly to the ground. Sites with poor sun exposure or heavy data transmission needs typically call for the larger 30Ah-plus battery configuration rather than the standard 18Ah option.
How to Interpret Noise and Vibration Monitoring Results
Misreading results is its own hazard. Miss an early warning sign, and you risk real structural damage. Overreact to a false trigger, and you shut down an activity that never needed to stop.
| Result Category | What It Looks Like | Response |
|---|---|---|
| Normal/Acceptable | Readings stay consistently below the applicable PPV or dB limit for the structure and frequency band | Continue routine monitoring and periodic report review |
| Minor Issues | Readings approach the threshold or trend upward over multiple events | Increase monitoring frequency, check equipment, alert the project team |
| Out-of-Spec | Readings exceed the regulatory or contractual limit | Pause the activity immediately, investigate, document for compliance |
Automated alerts close this gap. uWave's cloud-hosted platform sends email and text alerts the moment a reading enters the Minor Issues range, giving teams time to respond before limits are breached.
The limits themselves vary by structure and standard. The FTA's Transit Noise and Vibration Impact Assessment Manual sets PPV screening limits ranging from 0.5 in/s for reinforced-concrete or steel buildings down to 0.12 in/s for structures extremely susceptible to vibration damage.
For surface blasting, OSMRE's regulation at 30 CFR 816.67 sets distance-based limits:
- 1.25 in/s within 300 feet of the structure
- 1.00 in/s between 301 and 5,000 feet
- 0.75 in/s beyond 5,000 feet
One reading in isolation rarely tells the whole story. Cross-referencing data from multiple monitoring points (one near the source, one or more at the sensitive structure) helps confirm whether an exceedance is genuine. This distinguishes real structural risk from a false alarm triggered by equipment disturbance.
Common Errors and Safety Best Practices
Bad monitoring data usually traces back to a handful of predictable mistakes. Fixing them is cheaper than defending questionable readings after the fact.
Common Errors in Noise and Vibration Monitoring
- Poor sensor coupling to the ground or structure, skewing amplitude readings
- No documented baseline: Without recorded background levels, thresholds get set blind, causing false alarms or missed exceedances
- Wrong standard applied: Confusing 1/3 octave RMS limits with PPV/FFT dominant frequency limits produces compliance calls that don't hold up
- Expired calibration: Undermines the validity of every reading the instrument produces
Safety and Best Practices
- Verify sensors and monitors carry a current calibration certificate before deployment
- Use weatherproof, lockable enclosures to protect equipment from tampering and moisture
- Follow site-specific PPE and access protocols near active machinery
For projects needing multiple monitoring points across a large site, ask about bulk package pricing. uWave offers extended discounts on multi-unit rentals and purchases, savings that add up quickly on sites running five or more stations.
Conclusion
Accurate noise and vibration monitoring protects structures, workers, and the relationship a project has with its neighbors. None of that happens by accident — it depends on the right equipment, correct sensor placement, and interpretation against a recognized standard rather than a guess.
Remote, cloud-hosted systems with automated alerts close the gap between an exceedance happening and someone finding out about it. On a job site, that gap is often the difference between a documented non-event and a shutdown. uWave Monitoring Systems' rental and hosting packages close exactly that gap.
Frequently Asked Questions
What devices are used to monitor noise and vibration?
Seismographs paired with triaxial geophones measure ground vibration, while sound level meters or microphones capture airborne noise. Many modern units, like the Instantel Micromate, combine both into a single remote monitoring instrument.
What is a normal vibration level?
"Normal" depends on the structure type and standard applied. Low-frequency vibrations must stay below the PPV limits set in standards like DIN 4150-3 or ISO 4866. Always check your project-specific limit curve rather than relying on a generic number.
What kind of hazard is noise and vibration?
Vibration is primarily a structural hazard, though it can also cause fatigue or discomfort. Noise is both a physical and health hazard, tied to hearing loss and stress from prolonged exposure.
How often should vibration monitoring equipment be calibrated?
Most seismographs should be calibrated at least annually, per ISEE and manufacturer guidance. Some project specifications require more frequent checks.
Can noise and vibration be monitored remotely in real time?
Yes. Field-to-cloud systems with cellular connectivity provide 24/7 remote access, automated alerts, and live data review without daily site visits.
What's the difference between vibration monitoring and noise monitoring?
Vibration monitoring tracks ground or structural motion with geophones to assess structural risk. Noise monitoring measures airborne sound pressure to assess human and community impact. Each hazard requires its own measurement approach.